

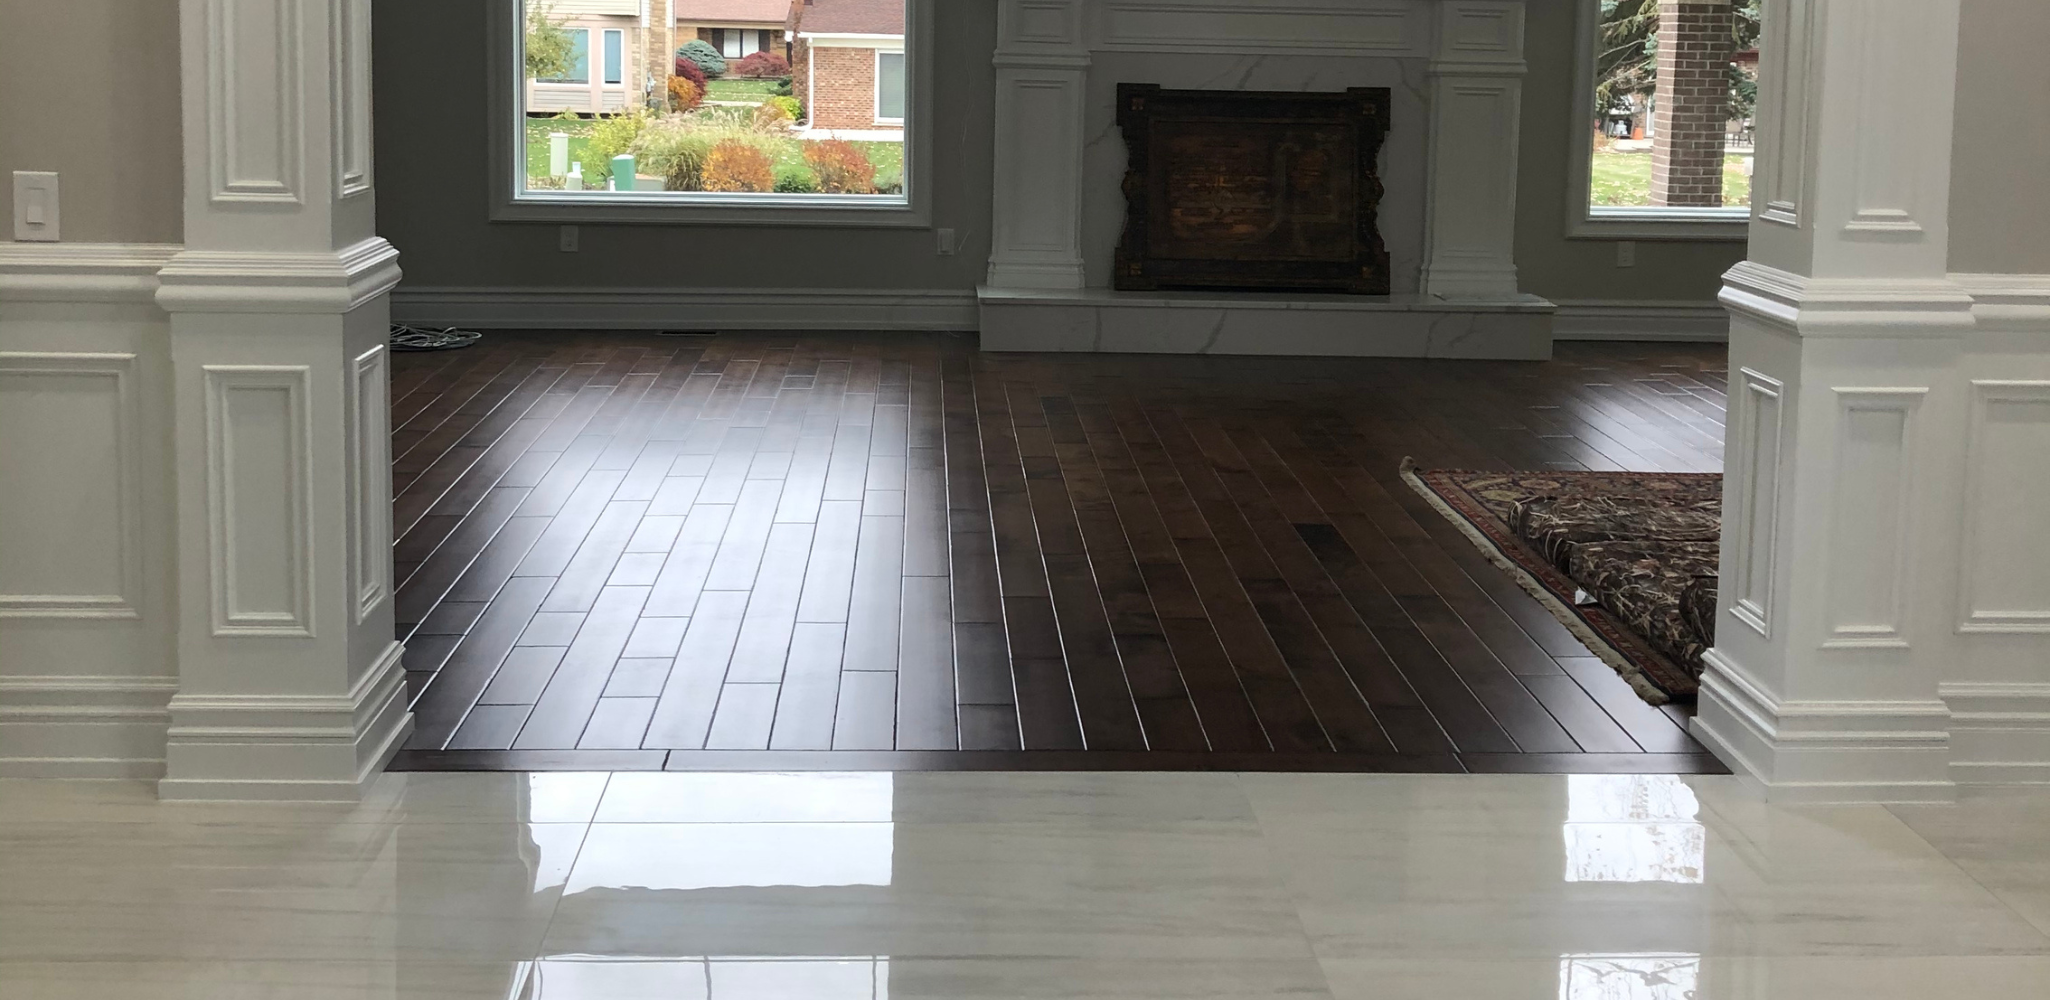
You’ve picked your floors, the installers are scheduled, and then someone asks, “What are you doing for transitions?” It’s a small detail that can suddenly feel big. Done well, transitions disappear into the design and make your home feel finished. Done poorly, they trip toes, collect dirt, and draw the eye for all the wrong reasons.
This guide breaks down what transitions are, when you truly need them, and how to choose the right style so your new floors look intentional from room to room.
What a Flooring Transition Actually Does
A transition is any piece that bridges one surface to another. That might be two different floors, a change in height, or an opening like a doorway or stair edge. While they come in many profiles and finishes, they all have a few jobs in common.
They protect the edges of your floors so planks and tiles don’t chip, fray, or lift over time. They also hide expansion gaps that hard surfaces like wood, laminate, and luxury vinyl need to move with temperature and humidity changes. Without that gap, boards can buckle; without a cover, the gap looks unfinished.
Transitions also smooth out height differences between materials. That’s what keeps a thick tile floor from becoming a toe-stubber next to thinner laminate or vinyl. Finally, they create a visual break where it makes sense for one material to stop and another to begin, which helps open-concept spaces feel organized instead of chaotic.
If you’re planning new hard surfaces, it helps to review the appropriate prep and walk-through steps in each room; our installation checklists give a good overview of how we think through those details across different materials.
The Main Types of Transition Pieces (and Where They Go)
Most transition questions boil down to a few common profiles. Knowing what each one does makes decisions much easier.
- T-molding looks like a “T” from the end and is used between two hard surfaces of similar height, such as laminate to laminate between rooms. It sits in the gap and bridges both edges, letting each surface move independently.
- Reducers handle a step down from a thicker floor to a thinner one. You’ll see them where luxury vinyl meets a sheet vinyl or where hardwood meets a lower surface. The sloped profile makes that height change feel gradual rather than abrupt.
- End caps or thresholds finish an exposed edge, like where plank flooring meets sliding doors, fireplaces, or exterior thresholds. They give you a clean stopping point without needing a second floor on the other side.
- Carpet transitions (often metal or vinyl strips) clamp the edge of the carpet and meet a hard surface. They keep the pile from unraveling and prevent a ridge where the two floors meet.
- Stair noses cap each tread where plank, laminate, or vinyl runs down a staircase. They’re critical for safety and usually have a slightly rounded front edge to soften impact.
Each manufacturer designs these parts to work with specific flooring lines, so our in-house installers match profiles to your exact product rather than relying on generic strips. When we’re installing hardwood, for example, we follow the same level of detail outlined in our hardwood installation guide, including how those edges tie into adjoining surfaces.
Where You Need Transitions (and Where You Don’t)
Not every doorway needs trim, and not every change in material has to be dramatic. The key is understanding how the space functions.
Doorways are the most common location. If you move from wood in a bedroom to tile in a bathroom, you almost always need a transition there to protect both edges and hide the expansion gap. Hall openings where a single product runs continuously can often be left without a strip, as long as the floor can still move and the manufacturer allows longer runs.
You’ll also need transitions where different materials meet in open areas. Think of a kitchen with tile around the cabinets and luxury vinyl in the adjoining living space. The line between them needs to be straight, planned, and covered with the correct molding, not improvised at the last minute.
Height differences are another trigger. Even if both surfaces are technically hard floors, a reducer may be required to meet code or simply to keep family and guests from catching their toes. Our crews look at these conditions carefully during measure, whether the project is a single-family home or part of a larger commercial installation that has to meet accessibility standards.
Finally, stairs are non-negotiable. Every change from tread to riser needs a dedicated nose piece that’s compatible with the flooring on that step. This is one area where professional installation makes a noticeable difference in both safety and appearance.
Design Tips So Transitions Don’t Distract
Good transitions fade into the background. To get that look, start by matching the finish to the dominant floor rather than the smaller adjoining area. If you have wide-plank luxury vinyl through most of the main level, for example, it usually makes sense to choose coordinating moldings from that line. Many of the products in our luxury vinyl collection have factory-made trims designed to blend in nearly seamlessly.
Next, keep lines as straight and simple as possible. Curves and jogs are harder to install cleanly and tend to draw attention. If you’re changing materials in an open-concept space, align those breaks with natural features like islands, beams, or furniture groupings so they feel intentional.
It also helps to think about maintenance. Low-profile strips with smooth edges are easier to vacuum over and won’t trap as much dust. In high-traffic areas, especially in busy households in Northern Colorado or Southern Wyoming, sturdier profiles in metal or dense PVC can hold up better over time than softer woods.
Because we manage both material selection and installation under one roof, our designers sit down with you early in the process to talk through where surfaces change and how those details will look once everything is in place.
Ready to Plan Your Floors from Room to Room?
Transitions are a small part of your project, but they have an outsized impact on how safe, durable, and finished your home feels. When we measure, we look carefully at every doorway, height change, and stair run so the pieces that tie your floors together work as well as the surfaces themselves.
If you’re thinking about new flooring and want help mapping out the details, you can request a free estimate, and our team will walk you through options that make sense for your home and how you live in it.


