

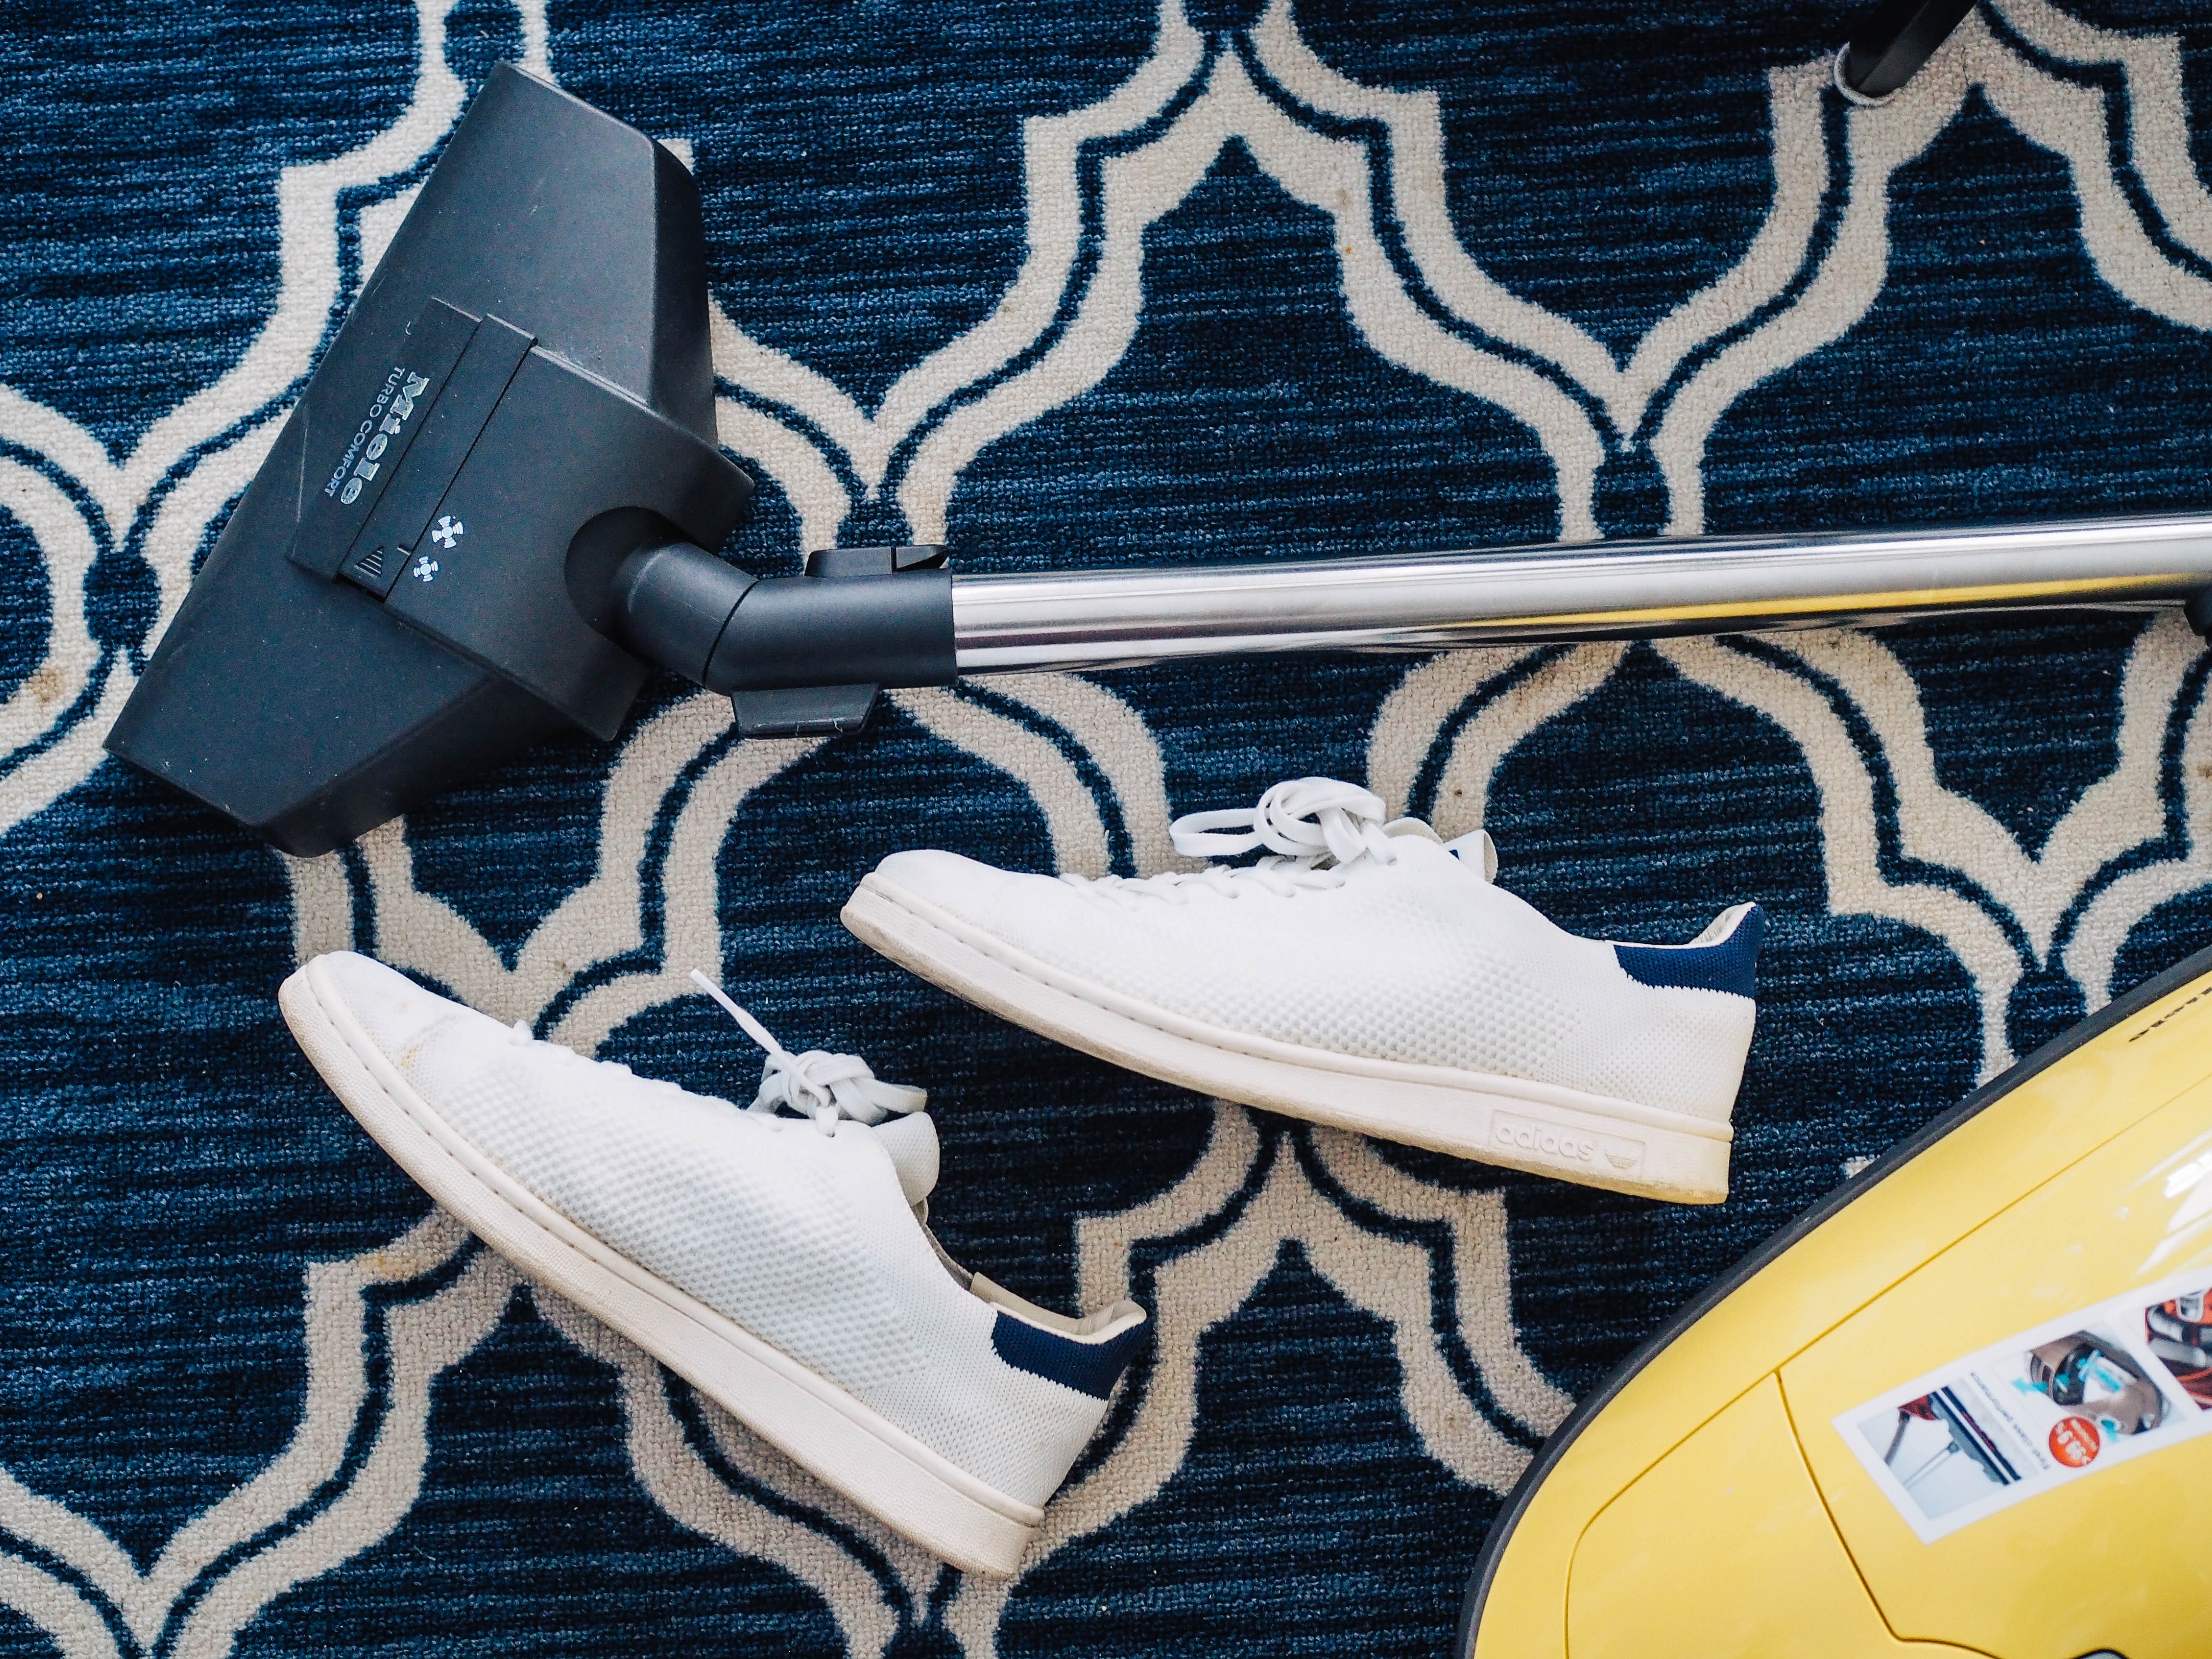
You finally sit down at the end of a long day, look across your floors…and see footprints, pet hair, and a mystery sticky spot under the table. You want everything fresh and clean, but you also don’t want to dull the finish, void a warranty, or cause damage that a mop can’t fix. That balance between “really clean” and “still protected” is exactly where most homeowners struggle.
Below is a practical, room‑by‑room style guide to safely clean the most common surfaces we install—without harsh chemicals, gimmicks, or guesswork.
General rules that protect any floor
Before getting into specific materials, a few habits will keep almost every surface looking better, longer:
- Dry clean first. Grit acts like sandpaper. Always sweep, dust mop, or vacuum on a hard‑surface setting before you ever bring out a damp mop.
- Use the lightest cleaner that works. Start with plain water, then a mild, pH‑neutral solution if needed. Stronger chemistry should be the exception, not the routine.
- Skip steam on most floors. High heat and moisture can damage wood, laminate, some vinyl, and even loosen grout over time.
- Wring mops aggressively. Standing water seeps into seams, edges, and under baseboards where it can swell or stain materials.
- Test before you trust. Try any new product in a corner or closet first to make sure it doesn’t dull or discolor the surface.
When we plan new projects, we walk clients through long‑term care right alongside style and installation details. Our full list of flooring services shows how closely we connect product choice with day‑to‑day maintenance.
Safe cleaning for hardwood and laminate
Wood and laminate are especially sensitive to moisture, but they’re very manageable once you understand what they like—and what they don’t.
For everyday care, use a soft broom or microfiber dust mop. A vacuum with a hard‑floor setting (brush roll off) works well for crumbs and pet hair. For deeper cleaning, use a slightly damp microfiber pad and a cleaner specifically labeled for your finish type. Avoid vinegar, oil soaps, and “shine” products on modern urethane finishes; over time they can cause streaking or a cloudy film.
Laminate follows similar rules but is even less tolerant of standing water because of its wood‑based core. Focus on light, frequent maintenance instead of heavy, wet mopping. If you’re planning new surfaces and want to know how preparation, acclimation, and installation affect long‑term performance, our laminate installation guide outlines the steps we take before a single plank is locked together.
For both materials, wipe spills immediately, use felt pads under furniture, and keep mats at exterior doors to trap grit before it reaches the finish.
How to clean luxury vinyl and other resilient floors
Luxury vinyl plank and tile are popular because they’re tough, comfortable underfoot, and far more forgiving than wood around kids, pets, and busy kitchens. They still need the right approach, though.
Start with regular sweeping or vacuuming using a soft‑bristle or hard‑floor setting. For mopping, use warm water and, if needed, a pH‑neutral cleaner recommended for resilient surfaces. Avoid abrasive powders, scrub pads, waxes, or polishes not designed for vinyl; many of these can scratch the wear layer or leave residue that attracts more dirt.
Steam is usually not recommended on floating vinyl systems because trapped moisture and heat can affect the locking mechanism or subfloor. Instead, stick with a damp—not wet—microfiber mop. If you’re comparing options for a busy household and want to see what different wear layers and textures look like, our luxury vinyl plank catalog lets you browse styles that are built for real‑world traffic.
Traditional sheet vinyl and rubber floors follow similar rules: gentle cleaners, no harsh solvents, and limited water.
Caring for carpet, tile, and grout
Soft surfaces and hard tile ask for very different techniques, but both benefit from consistency more than intensity.
For carpet, vacuum high‑use areas several times a week with a quality machine set to the correct pile height. This pulls out grit before it breaks down fibers. Treat spills right away by blotting (never rubbing) with a clean cloth from the outside of the spot inward. Use a carpet stain remover that matches the type of spill—protein, oil, dye—rather than an all‑purpose household cleaner. Periodic professional hot‑water extraction helps reset the whole room and can extend manufacturer warranties.
Tile and grout are more resistant to moisture, but the joints between tiles are still vulnerable to harsh chemistry. Sweep or vacuum first, then clean with warm water and a neutral cleaner designed for stone or ceramic. Skip bleach and abrasive powders on grout unless a manufacturer specifically recommends them; repeated use can erode joints and strip sealers. A soft nylon brush works better than metal tools for scrubbing problem spots.
If you’re planning a remodel and want to understand how prep, layout, and grout choice impact cleaning over the life of the space, our tile installation checklist walks through how we set these materials up for easier maintenance from day one.
Bringing it all together
Keeping floors beautiful isn’t about finding a miracle product; it’s about matching gentle, consistent care to the material under your feet. Dry clean first, keep water to a minimum, choose pH‑neutral solutions, and avoid harsh tools or steam on sensitive surfaces. When you pair those habits with properly selected and professionally installed materials, you get surfaces that stay attractive for years, whether they’re in a downtown office or a busy family home in Northern Colorado.
If you’re thinking about new surfaces and want guidance on both installation and long‑term care, you can request a free estimate and we’ll help you select materials and layouts that fit the way you actually live.


